Instruction Manual
Congratulations on your purchase of the CollarCam!
You must be excited to start capturing your pet’s adventures, so let’s get you set up quickly!
Step 1 - Charge
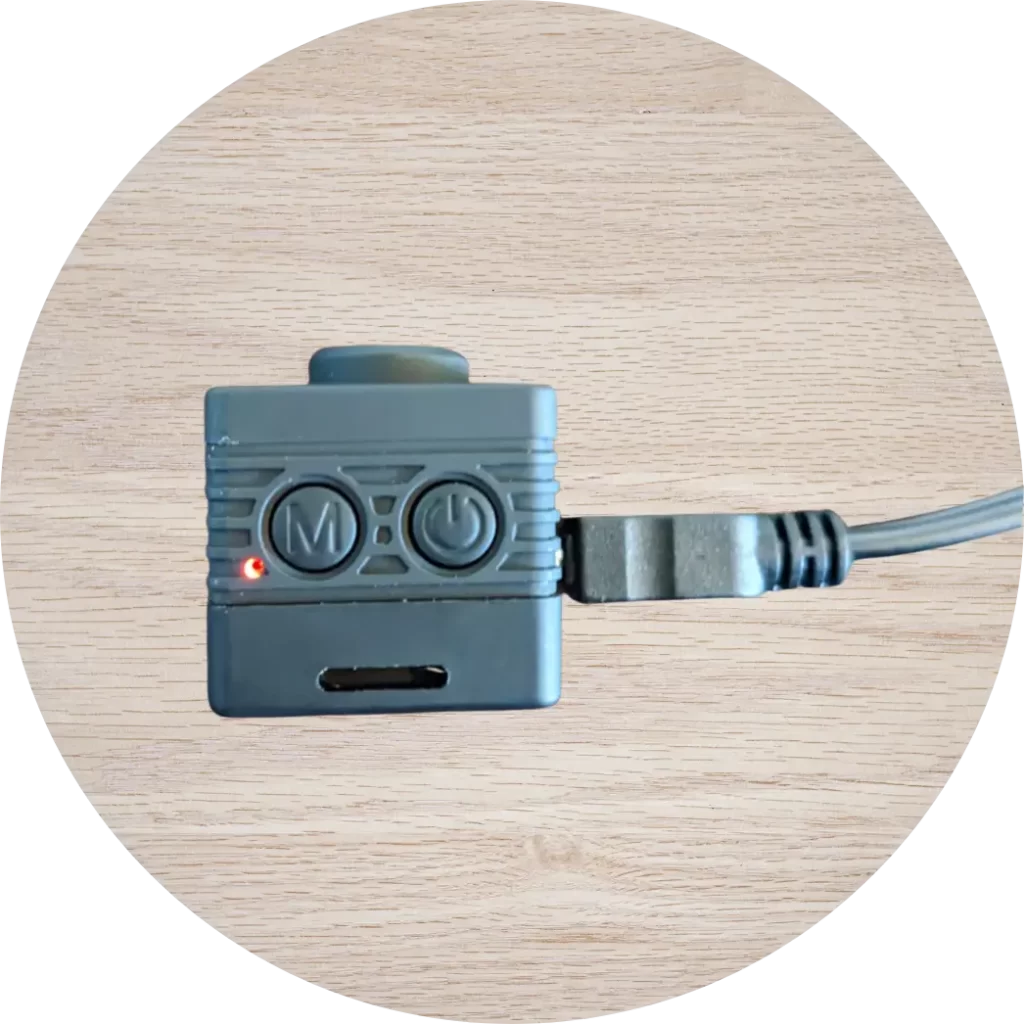
Charge the CollarCam via the USB cable provided, until the flashing red light becomes a solid red light.
Step 2 - Attach
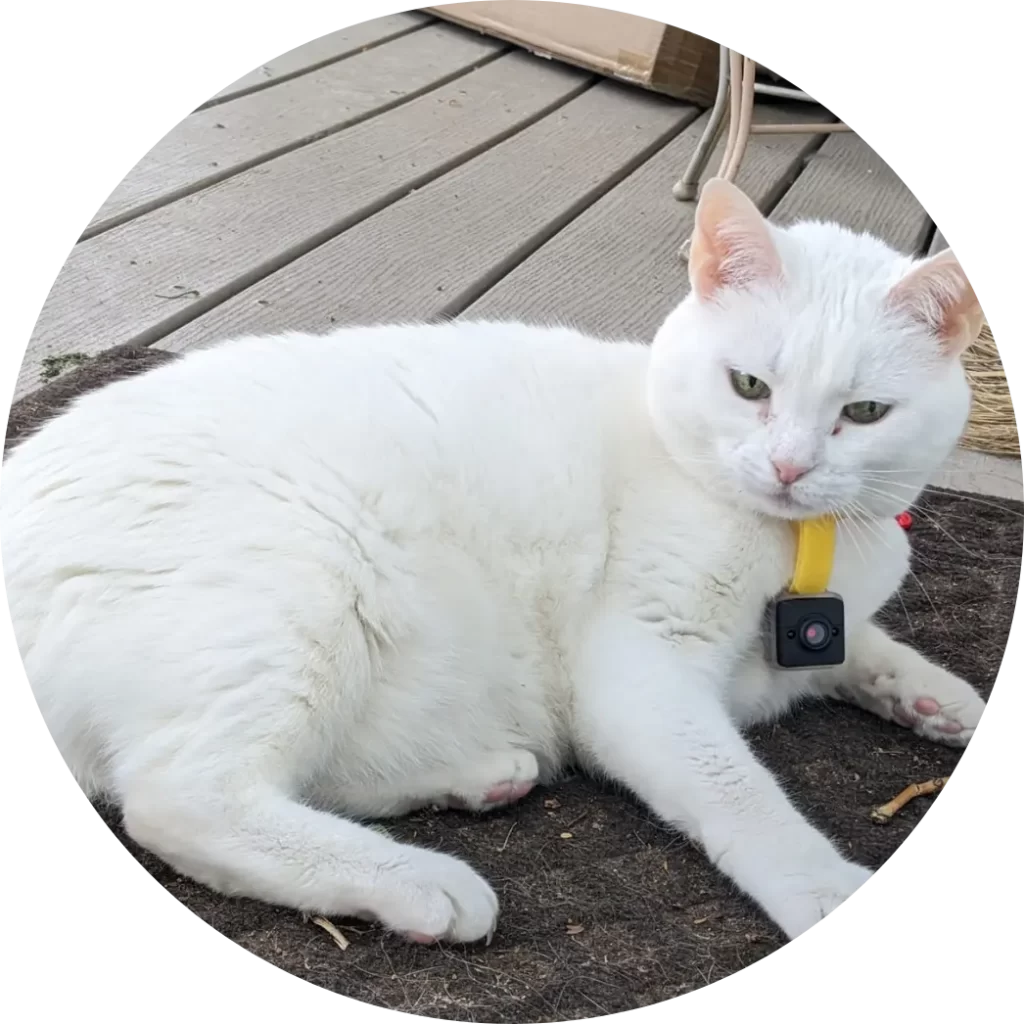
Insert the Velcro strip into the CollarCam holder, then slide in the CollarCam so it fits snug. Attach the camera to your pet’s collar via the Velcro strip.
We recommend making the Velcro loop tight, to avoid the camera moving too much during video recording. Cut the Velcro strip if required.
Step 3 - Record!
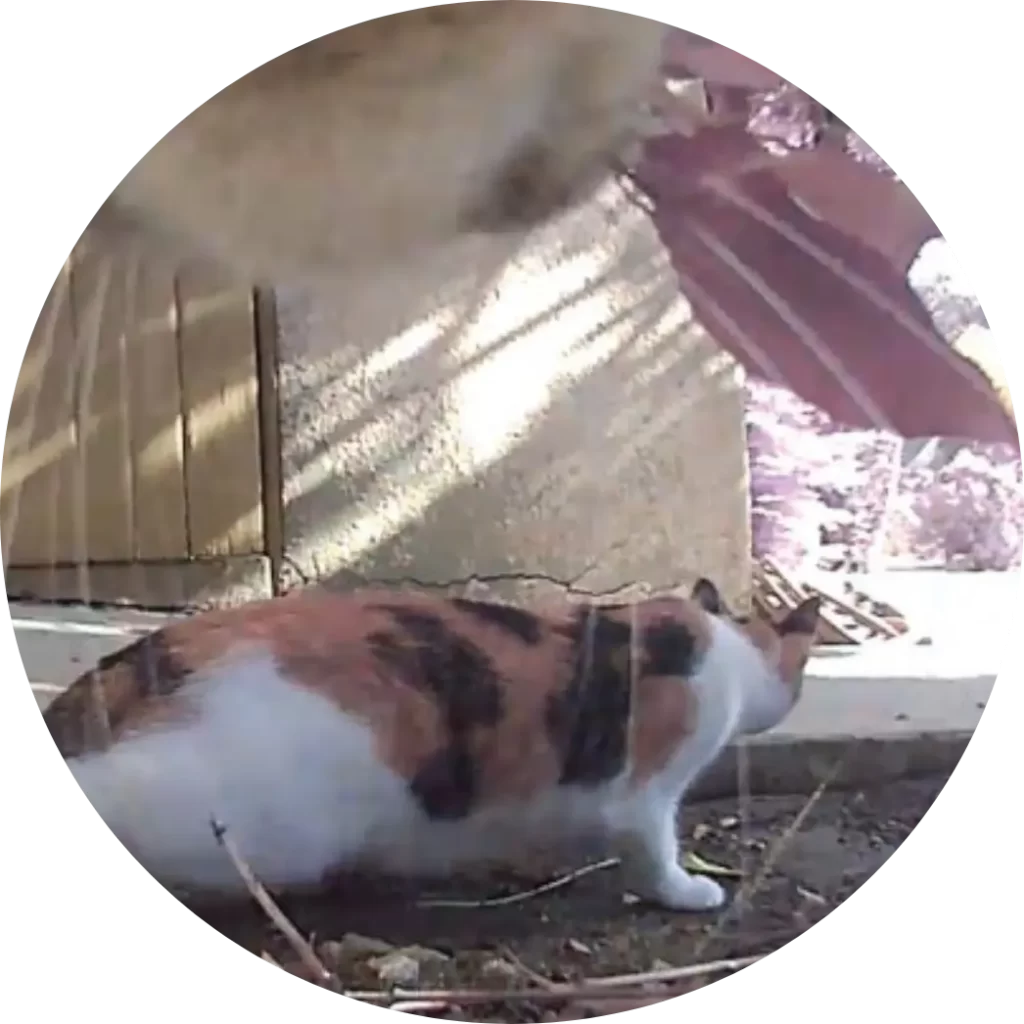
Hold the power button to turn the CollarCam on. Press the power button again – a blue light will flash 3 times then turn off. The CollarCam is now recording!
1. Charging the CollarCam
The CollarCam comes with a built in lithium ion battery which cannot be removed from the device. It also comes with a Micro-SD memory card inserted so you don’t need to insert it yourself!
Charge the camera before first use. The camera can be charged using the following ways:
- USB connected to the computer
- Standard 5v USB plug (for recording whilst charging)
When charging, a red flashing light will show. Once the camera light remains continuously red, leave the camera charging for an additional 30 minutes to ensure the battery is completely full.
If charging via a wall socket, the CollarCam may start recording automatically. To stop this, simply press the power button once. The red charging light will then show.
2. Powering on/off
To power on: press and hold the power button for 5 seconds to turn on the device. You will see a purple light followed by a blue light which will indicate the device is turned on and in video mode.
To power off: press and hold the power buttons for 2 seconds to turn off the device. The light will turn off.
Note: If no working mode is selected after 1 minute from being turned on, the CollarCam will turn itself off.
Ensure the SD card is inserted correctly before turning on. If no SD card is in the device, the camera will show a blue light followed by 9 purple flashing lights and turn off.

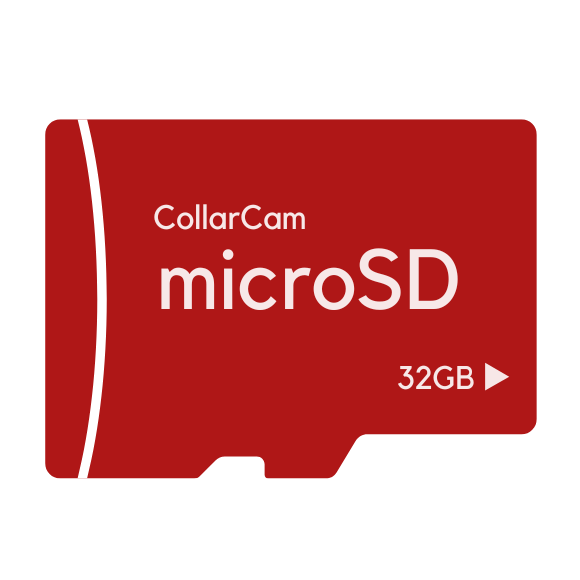
3. Inserting the Micro-SD memory card
The CollarCam comes with an SD card inserted in the device, however should you wish to remove the SD card, please follow the steps below
To remove the SD card: pull the top of the SD card with your fingers or tweezers. The semi-circular groove should help.
To insert the SD card: slide the SD card into the SD card slot, with the label facing the back of the camera.
Ensure the SD card is inserted against the electrical components to ensure a good fit and avoid the SD card getting stuck.
If you wish to change your memory card, for best results use brand names that meet these requirements:
- microSD, microSDHC™, or microSDXC™
- Capacity up to 32GB
- Minimum of Class 10 or UHS-I rating
Note: Use care when handling memory cards. Avoid liquids, dust, and debris. As a precaution, power off the camera before inserting or removing the card. Check manufacturer guidelines regarding use in acceptable temperature ranges.
Capturing Video:
Non-motion detection mode
- Turn on the camera
- The camera will automatically set to video recording mode (as shown by the blue ‘stand-by’ light)
- To record, press the power button. The camera will flash a blue light three times until no light is shown. The camera will then be recording.
- To stop recording, click the power button again – the blue standby light should come back on.
Files will be saved every 5 minutes during recording. If the memory card is full or battery is out of power, the camera will flash 5 times before powering off. Your video is saved before the camera powers off.

Capturing Video:
Motion detection mode
- Turn on the camera
- The camera will automatically set to video recording mode (as shown by the blue ‘stand-by’ light)
- Press and hold the mode button for 3 seconds until the purple light flashes 3 times. The camera will now start videoing upon motion detection.
- To stop recording, click the power button – the blue standby light should come back on.
During motion detection mode, the camera will record for 3-5 minutes until it detects motion again. This will continue until the SD card is full or the camera runs out of battery.
Capturing Photos
- Turn on the camera
- The camera will automatically set to video recording mode (as shown by the blue ‘stand-by’ light)
- Press the Mode button to switch to camera mode (as shown by the blue light turning to red)
- To take a photo, press the power button. The red light will flash once when taking the photo.
The CollarCam has a built-in infrared light to capture night vision.
- Turn on the camera
- In either video or camera mode, press and hold the power button for 2 seconds and then release
- The red light will flash twice, indicating night mode has been turned on
- To turn off night mode, hold the power button for 2 seconds and then release. The red light will flash 3 times
There are 2 methods of opening and viewing your photos and videos:
- Connecting the camera to the computer
- Using and SD card adapter (recommended)
Once connected the camera will show a blue light when identifying USB devices for file transfer. It may also flash red to show that it is charging, or show a solid red light to show that the camera is charged.
Connecting the
camera to a PC
- Plug in the USB cable to the camera and the computer
- The Removable Disk drive will pop up showing the video and photo folders and the timestamp editable document
- Your videos and photos can be found in these folders

Using an SD-card
adapter (recommended)
- Carefully remove the SD card from the camera using tweezers or fingers
- Insert the SD card into the SD card adapter with the label facing up
- Depending on your computer you may be able to insert the SD card adapter directly into the computer. Otherwise, insert the SD card adapter into a reader which can be connected to your computer via USB or USB-C
- The Removable Disk drive will pop up showing the video and photo folders and the timestamp editable document
- Your videos and photos can be found in these folders
Note: Once connected, if the camera is not recognised within 30 seconds please disconnect and try again.
Viewing Software
The CollarCam captures videos in AVI format.
For best results, we recommend using Windows Media Player (Windows devices) or VLC (Mac devices).
Please click the links below to download these programs for free:
- Windows Media Player for PC
- Windows Media Player for Mac
- VLC Media Player for PC
- VLC Media Player for Mac
- Ensure that the camera is switched off
- Connect the camera to your computer via the USB cable provided
- Open the Removable Disk folder and open the document named txt
- Edit the time in the format (year, month, day, hour, minute, second)
To show the timestamp: add a space and the letter Y
e.g. 20221031141010 Y
To not show a timestamp: add a space and the letter N
e.g. 20221031141010 N
If you still have a question, feel free to contact us!
Our support team are on hand to help with any additional queries or issues you may have.


